
11.仕上げ (2)キャラクターの仕上げ
提供者 : セルシス
更新日 : 2018/12/05
閲覧数 : 10550回 総合評価 : 5件
閲覧数 : 10550回 総合評価 : 5件
使用したバージョン:CLIP STUDIO PAINT Ver.1.3.6
[1]時計うさぎの仕上げ
[2]チャシャネコの仕上げ
[3]ハンプティーの仕上げ
[1]時計うさぎの仕上げ
時計うさぎにもハイライトと周りの光を入れていきます。①目立たせたい部分に強く光を入れます。
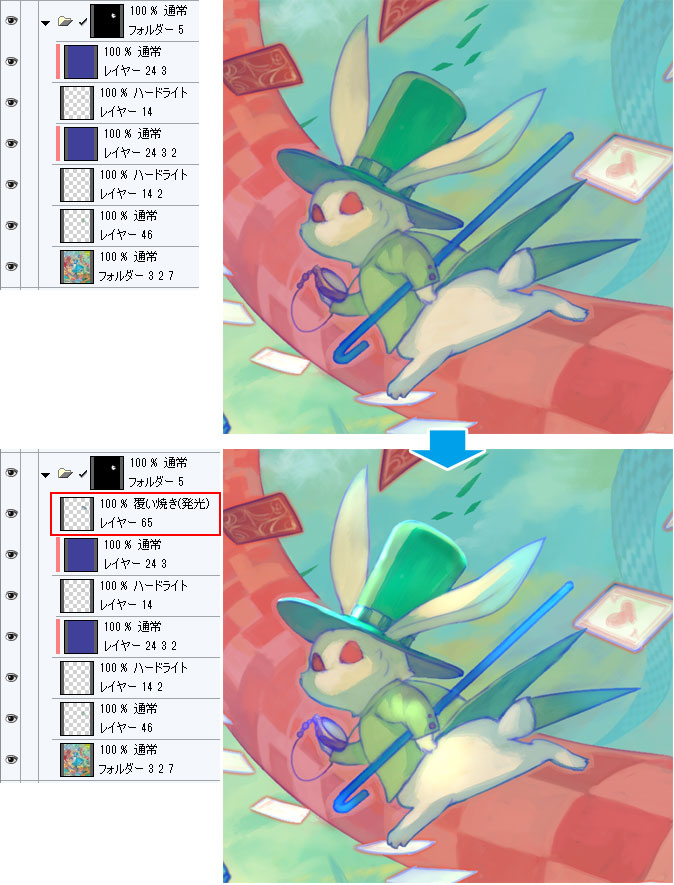
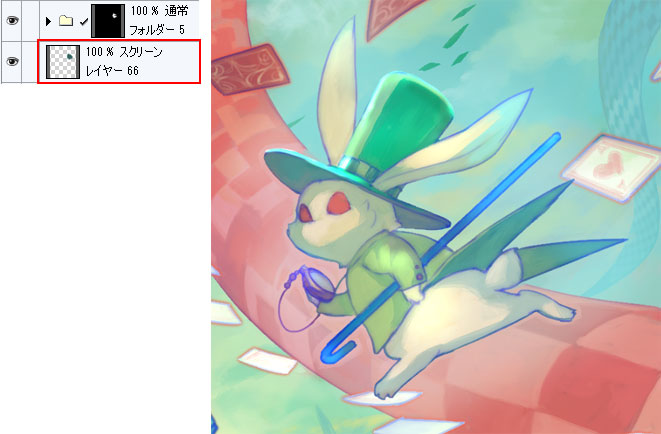
②フォルダの下にレイヤーを追加し、周りに光を入れます。
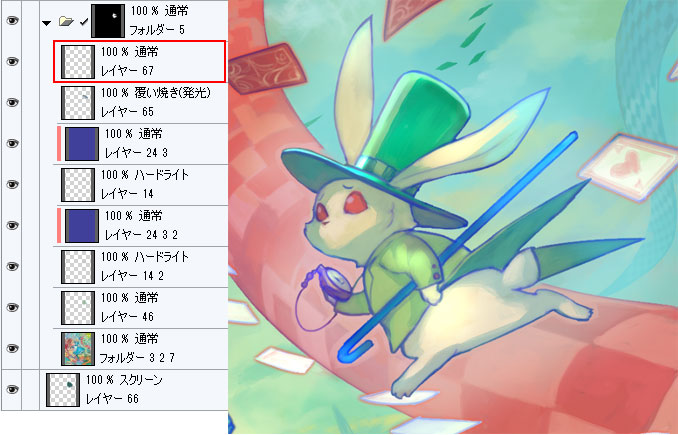
③レイヤーを追加し、線などの細かい修正を入れます。
[2]チャシャネコの仕上げ
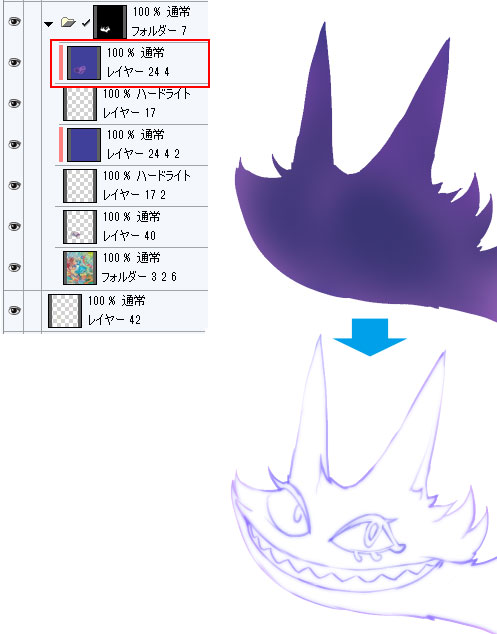
同じくチャシャネコも更にハイライトなどで調整します。先に線画を調整します。線画はアリスのときと同じように、少し線に濃淡をつけます。
①線画レイヤーを重ねてぼかします。
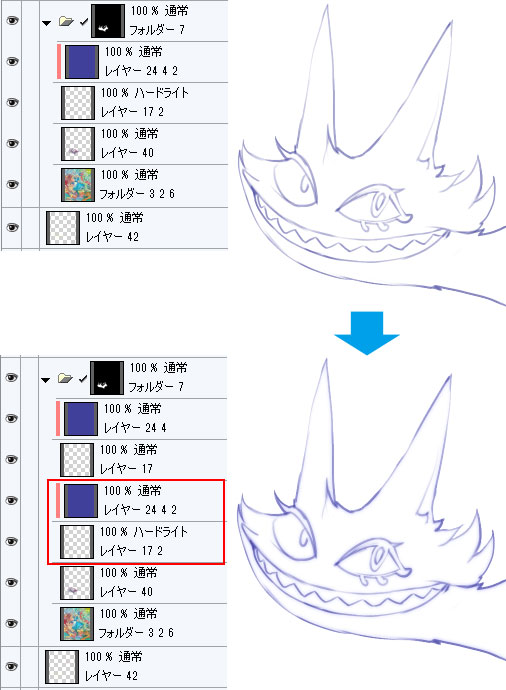
②線画レイヤーの上に重なっている色のレイヤーにブラシで着色します。
次にハイライトなどを入れていきます。
①目立たせたい部分に強く光を入れます。
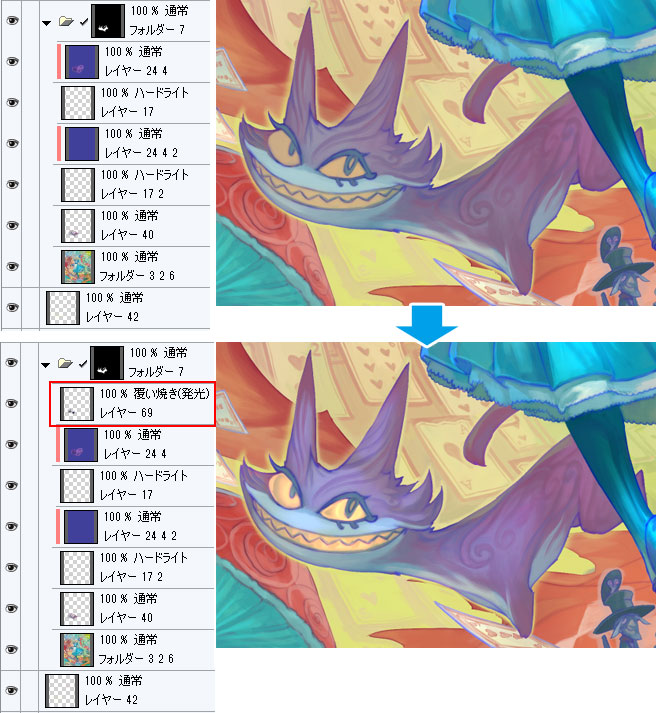
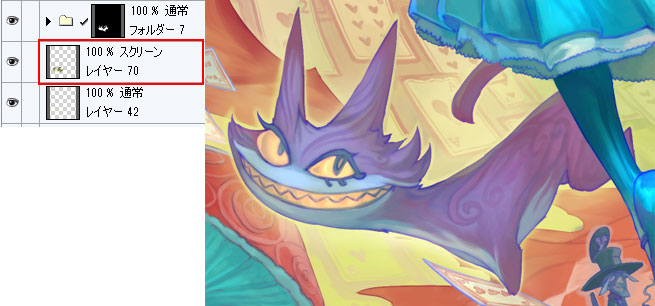
②フォルダの下にレイヤーを追加し、周りに光を入れます。
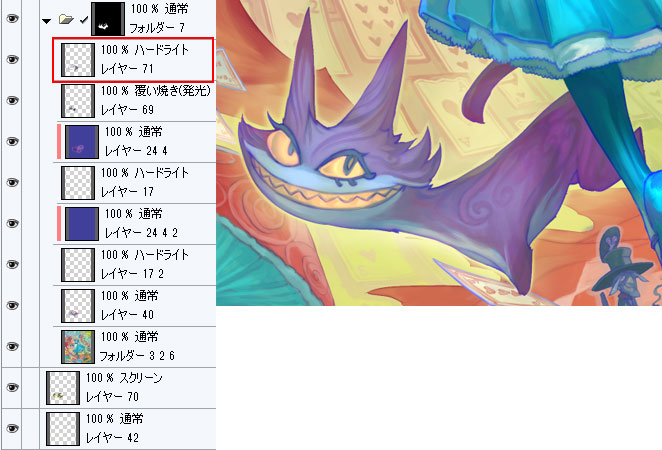
③合成モード「ハードライト」で濃い紫をのせます。
[3]ハンプティーの仕上げ
ハンプティーも同じように処理していきます。①キノコの部分を描き込みます。
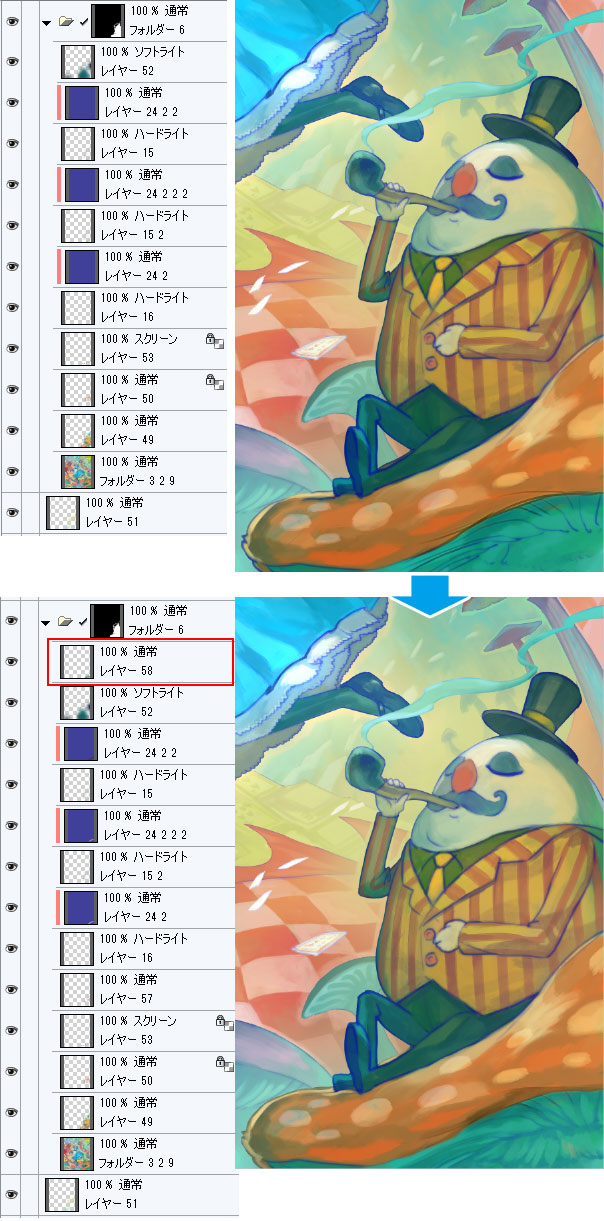
②目立たせたい部分に強く光を入れます。
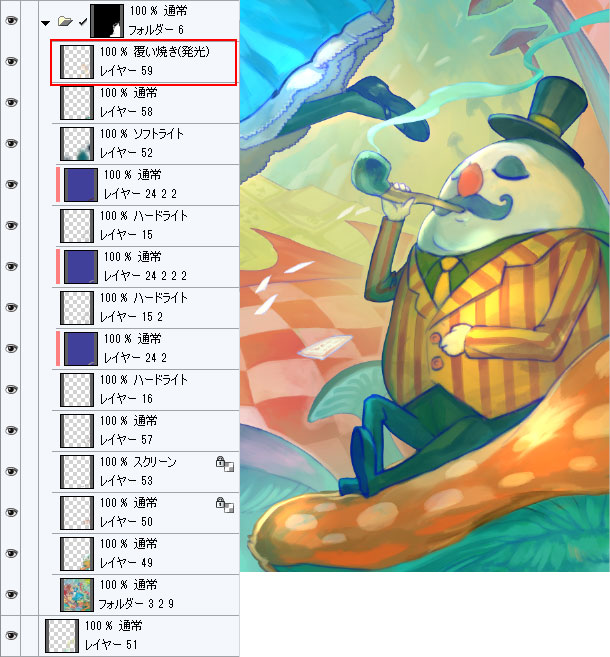
③さらに描き込みます。
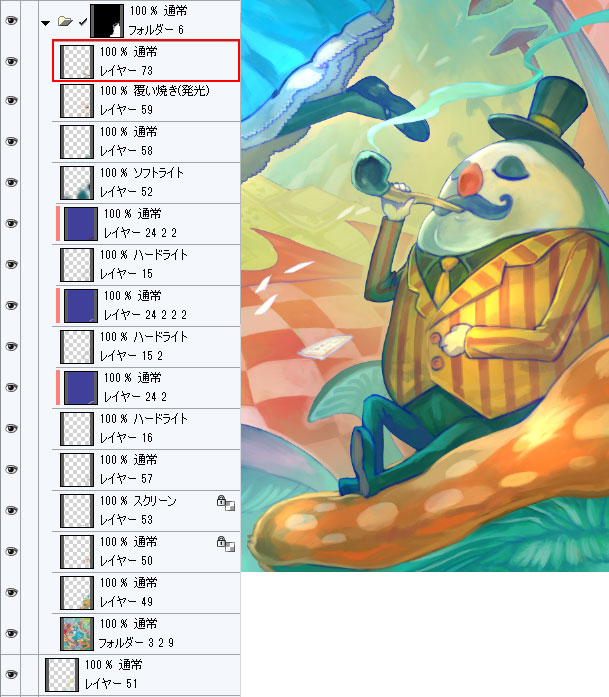
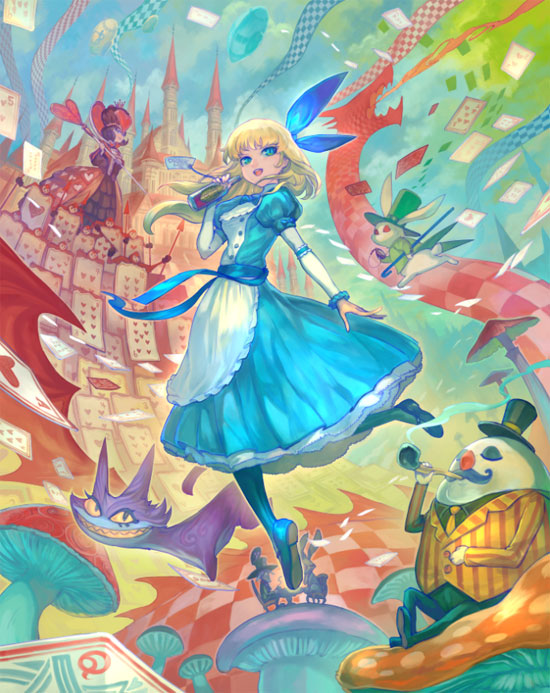
この後さらに調整をしますが、これでひとまず各キャラクターができました。
コメント